Showing posts with label sewing. Show all posts

Friday, 10 February 2017

Tooth Fairy Cushion Tutorial


You will need:

2 FQ's of cotton fabric. 
(One for the front and pocket and a co-ordinating fabric for the back)
We used Michael Miller's Bot Boy and Bot Dot fabric. You can find a great selection on the Sew Scrumptious website.
Stuffing

You can download the tooth fairy cushion pattern for FREE on the Sew Scrumptious website and find a great video tutorial on the Sew Scrumptious You Tube channel.

How to Make:

Print out the pattern or make your own. You need a square approx 17cm x 17cm and a pocket approx 13cm x 9cm. You can make any size that you like.

Cut one large square from each fabric and one pocket piece from the main fabric


Press down half inch at the top of each large square (towards the back of the fabric) then fold back up. This will help you at a later stage.

Making the pocket: 

Fold the pocket in half and pin (Make sure you think about the pattern on the fabric and which bit you want to see on the pocket front). Machine sew down each short edge leaving the long edge open.
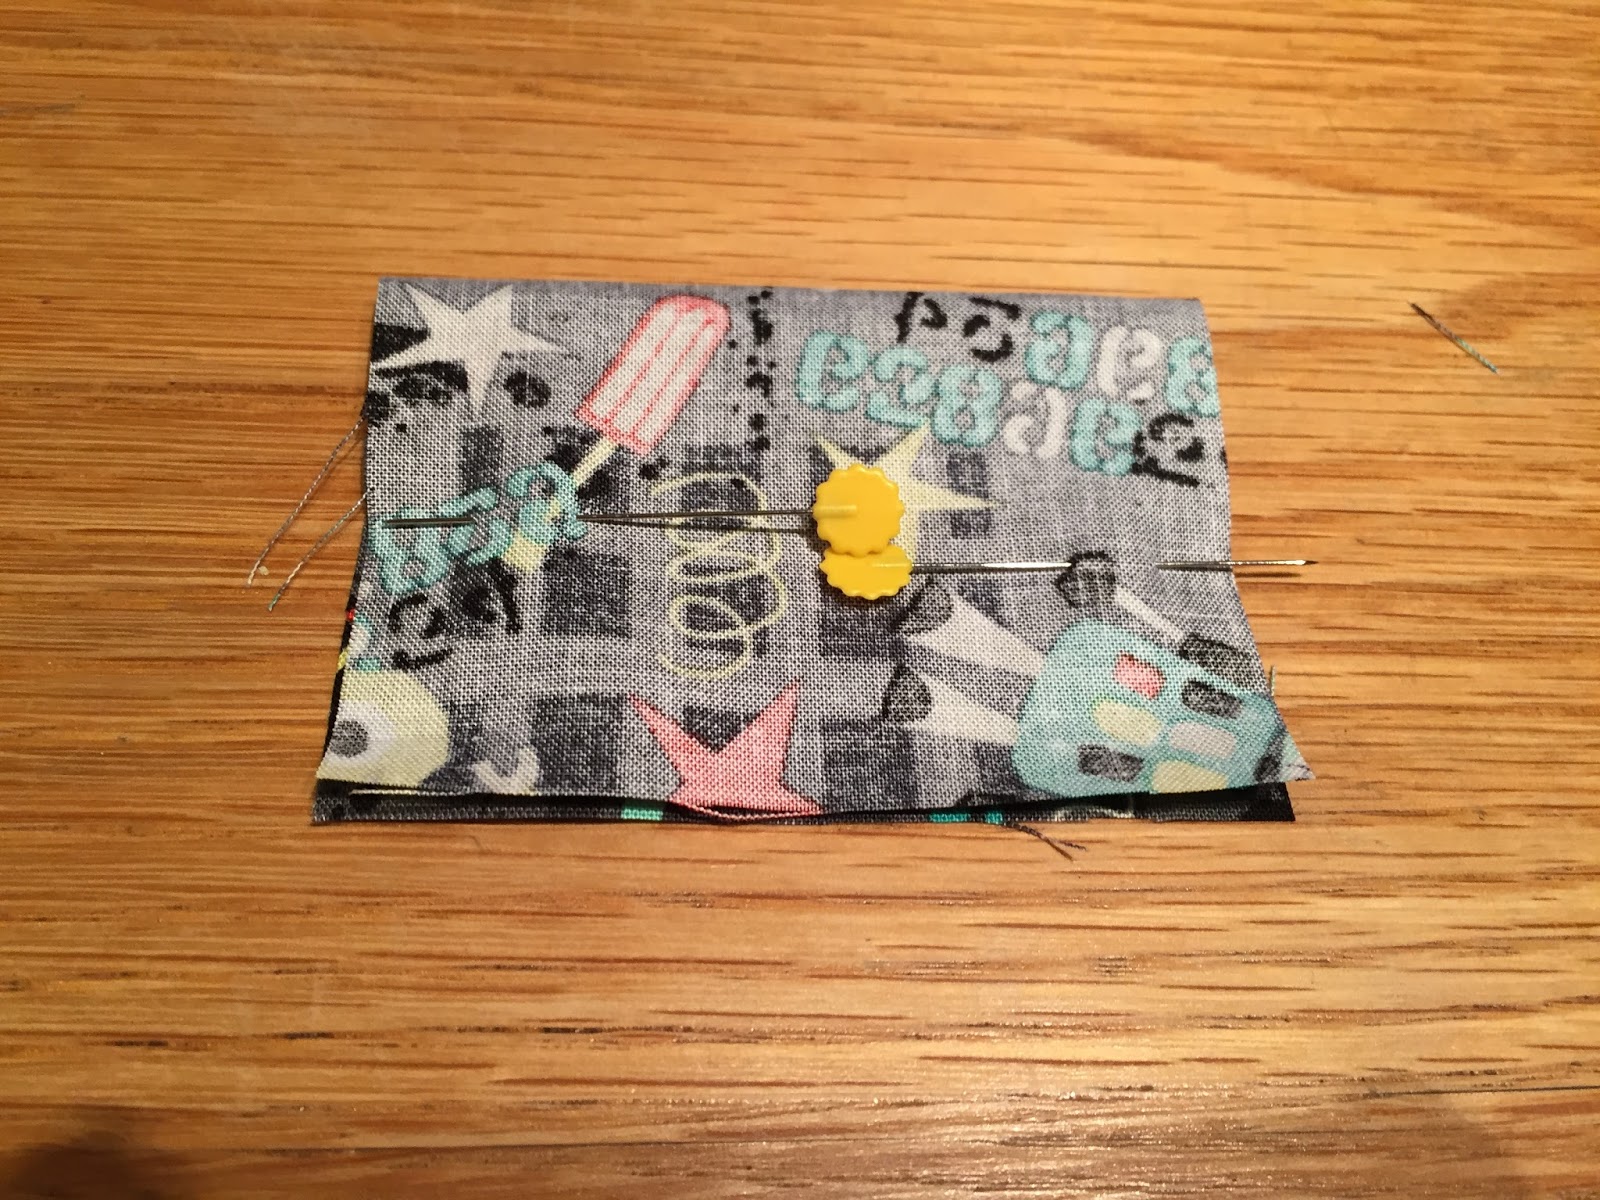

Clip the corners 


Turn inside out and press flat


Zig zag along the bottom edge to neaten and prevent fraying.


Press over a small amount towards the back of the pocket to make a crease


Place the pocket face down on the back fabric piece of your cushion making sure that when you fold it up again, it will be central. Pin along the zigzaged edge.


 Machine sew along the pressed crease you made earlier


Fold pocket back up and pin both sides in place 


Machine sew down each side.  


Making the Cushion:
 
Pin the fabric squares together (pattern sides facing) and sew down one side along the botton and up the other side leaving the top side open.


Clip the corners.


Turn inside out and press.


Press in the top half inch along the lines you pressed earlier.


Fill with stuffing until a nice shape.


Pin the top edges together. Sew all along the top by machine or by hand if you prefer. This can be a bit fiddly. Try and squish the stuffing towards the bottom while you are doing this.

Print off the tooth fairy poem onto card and pop in the pocket.


Wait for the tooth fairy to arrive!


Don't forget to subscribe to the Sew Scrumptious You Tube channel to be the first to find out about our new videos and tutorials.

Thursday, 9 January 2014

Bunk Bed Tidy Tutorial

Bunk beds and high sleepers are great for children but there is always the problem of what to do with drinks, books and toys for the person in the top bunk. We were lucky enough to find bunk beds with a shelf next to the top bunk but I wanted to design something for those that don't have shelves hence the Bunk Bed Tidy! It has three large pockets and is designed to hang over the side of a top bunk or high sleeper bed to keep those essential books, soft toys and drinks bottles handy and close to the person sleeping there.  


You will need:

50 cm x 112cm Plain medium to heavyweight Calico fabric

56cm x 50cm (1FQ) cotton fabric for the pockets. I used Field Day - Butterfly Kaleidoscope (Blue) by Josephine Kimberling for Blend available from my online shop here

3.5 metres Bias Binding (2cm wide)

1 metre Velcro

Cutting:

Calico Fabric

Cut one rectangle of fabric measuring 86cm x 44cm.

Pocket Fabric

Cut 3 rectangle pockets 26cm x 21cm

Velcro

Cut 1 x 84cm strip
Bias binding

Cut 3 x 26cm pieces for the pockets

Cut 1 x 262cm piece for the Tidy


Cut out the Calico fabric for the main base of the bunk bed tidy. Pin bias binding all the way around the edge of the fabric to hide the edges and sew all around close to the edge. Make sure that the corners are neatly folded before sewing. Overlap the bias slightly at the start/finish


Sew one half of your Velcro strip to the back of your Calico fabric. The first strip should be positioned just under the bias binding along the top and the second approx.13cm below the top of the Calico so you have 2 straight lines of Velcro. It might be worth checking that these measurements will fit the rails your particular bunk bed before you start to sew. Sew all the way around each Velcro strip.  
 

Take your pockets and pin bias binding along the top edge only. Sew the bias binding close to the edge on all 3 pockets.

  
Turn the pockets over and fold over 1cm at the sides and bottom of the pockets and press.


Pin the pockets to the front of the Calico fabric spacing them out equally. Allow approx. 3 cm between pockets and 4cm from the bottom. Sew the pockets to the Calico fabric ensuring that you reinforce the top of the pockets by sewing forward and backwards several times at the top of each pocket.
  

The top of the bunk bed tidy should fold over the top rail of the bunk bed and attach to the second row of Velcro holding it securely in place.


You have a Bunk Bed Tidy!


Helpful Tips

  • Use 1cm seam allowance for the pockets
  • You could use 3 different fabrics for the pockets or applique plain pockets with a child’s initials.
  • You can use denim or canvas fabric instead of Calico
  • Why not make your own co-ordinating bias binding
  • The design could easily be adapted to fit a single bed or a different design bunk bed.  
 This is another Tidy made for a friend.

 
If you make a Bunk bed Tidy please share some photos. We love to see what you make! If you love this tutorial, please feel free to PIN the image below on to pinterest.  


Happy Sewing!