


This is my first tutorial so please bear with me (if you are an experienced sewer please look away now!!). The PE bag is lined and I love that you can't see any of the seams on the inside so it looks all neat and tidy! Its a mix of several tutorials I've come across over the years with some tweaks. So here goes...
To start you need 2 pieces of fabric for the outside. I used 2 different fabrics for the front and back as I wanted Hello Kitty on one side and a plainer fabric to personalise on the other side (its much quicker to use just one fabric and not bother with the name!)
To personalise the bag.....
Print the letters you need at the size you want to use and trace them on to Bondaweb paper which has adhesive on both sides.


Cut around the letter and fabric and peel off the backing paper. It now becomes clear why you have to trace the letters back to front as when you iron them on to the bag itself they should be the right way round! I actually ironed the letters on to a plain piece of cotton fabric before attaching that to the bag fabric.


and now for the bag itself......
You can make the bag any size you like. My fabric pieces were 38cm x 45cm. Place the 2 pieces of fabric patterned sides together and pin down one side, across the bottom and up the other side.


You also need to add a loop of ribbon inside the bag on the same side close to the bottom to act as a loop for the cord.
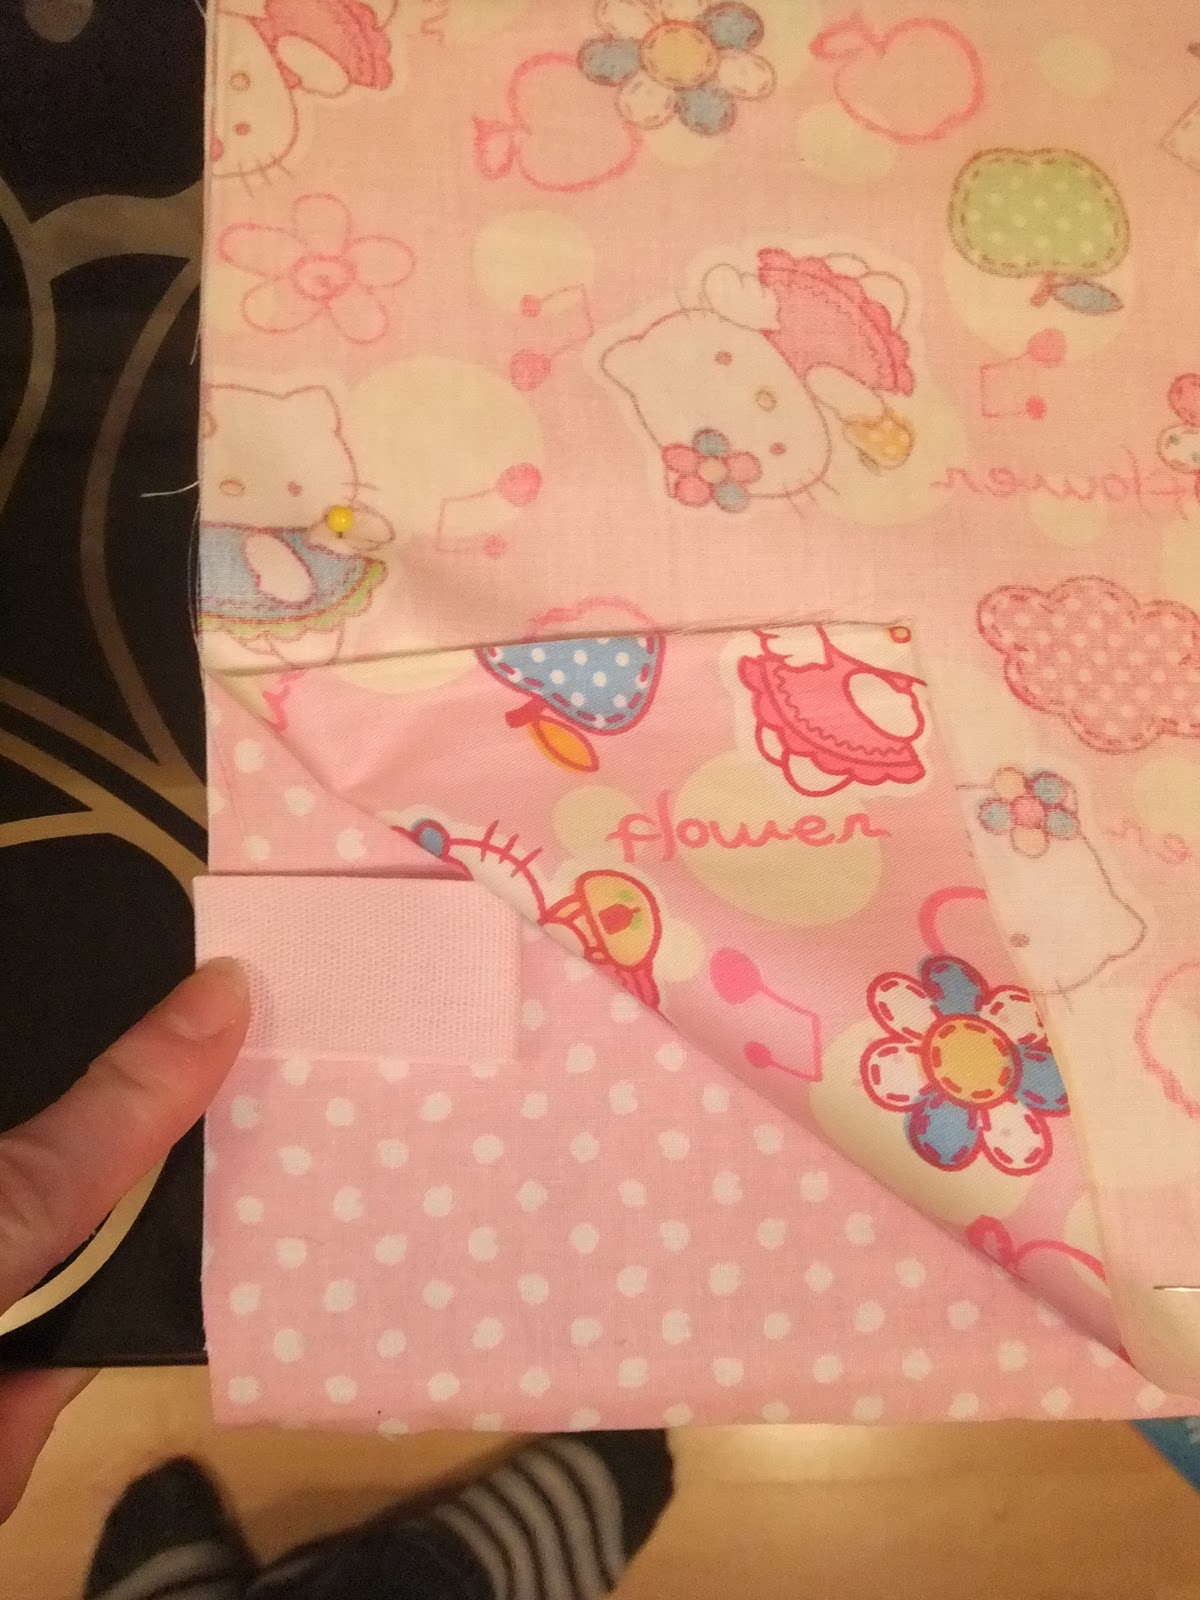


You then need to make the lining. You need 2 pieces of fabric exactly the same size as above. Sew down both sides and along the bottom but this time leave a large gap in the bottom seam to turn the bag inside out. Make sure you make the lining bag exactly the same size as the outer bag. This is REALLY important. I usually remeasure at this point to make sure the seams are going to be exactly the same size.


Now comes the complicated bit. It took me ages to work this bit out. You place the outside of the bag (Hello Kitty) right sides out INSIDE the lining bag which should be right sides facing in (my lining fabric is a gingham where both sides look the same just to confuse you!).

Line up the tops of each bag and pin all the way around about 2 cm down from the top.

Top tip: When pinning the bags together make sure the seam which has the gap in is pinned open like below. If you don't you won't be able to thread your cord through. I've forgotten several times amid much swearing and unpicking!!

Sew around the top of the 2 bags. Now we are getting to the good part. Pull the inside bag through the gap you left in the lining bag and then pull the lining bag up and inside out as you go.


You then need to sew up the bottom of the lining bag. I machine across the bottom as I think this looks neater than my hand sewing but its up to you.

Push the lining down inside the bag.

We are almost there now! Its a good idea to give the bag a press to get everything neat and tidy before sewing the channel for the cord. You now need to measure down 2cm from the top of the bag all the way around and pin. This should be just at the top of the gap the you left in the seam. Sew all the way around the bag.


Thread the cord through the channel you have made using a safety pin and then thread through the loop you made and tie a knot.


Doing a tutorial is REALLY hard. I hope it made sense? If anyone actually manages to make something from this tutorial
Good luck. You'll need it!
